

This awesome little planter is “no-sew” wizardry! Who actually likes to sew project pieces together anyway? Not me, my friend! Get ready to rock this quick project and show off your amazing stash-busting skills!
Supplies Needed
- Approx. 125 yds of Hobby Lobby, I Love this Cotton. I used the color Aqua or comparable size 4 cotton yarn.
- 3.75 mm / U.S. F crochet hook
- Scissors, yarn needle, tape measure
Terms & Abbreviations Used
- Pattern is written in US terminology.
- Begin(ning) – beg
- Chain – ch
- Cluster – Cl
- Double Crochet – dc
- Fasten Off – FO
- Foundation Single Crochet – fsc
- Granny Cluster – GC
- Puff Stitch – PS
- Repeat – rep
- Right Side – RS
- Single Crochet – sc
- Skip(ped) – sk
- Slip stitch – sl st
- Space(es) – sp(s)
- Stitch(es) – st(s)
- Treble Crochet – Tr
- Yarn Over -YO
- * – Repeat directions given from *
- [ ] – Indicates the number of stitches you should have
- ( ) – Work stitches within ( ) in the same stitch or space
- { } – Indicates a group of repeating instructions
Pattern Notes
All beginning 3 ch will count as a stitch
Gauge
Exact gauge is not crucial to this project. If you use a larger hook or yarn weight, your project will increase in size. Please note that I use cotton yarn since it doesn’t stretch a lot. Who wants a plant hanger to get saggy!
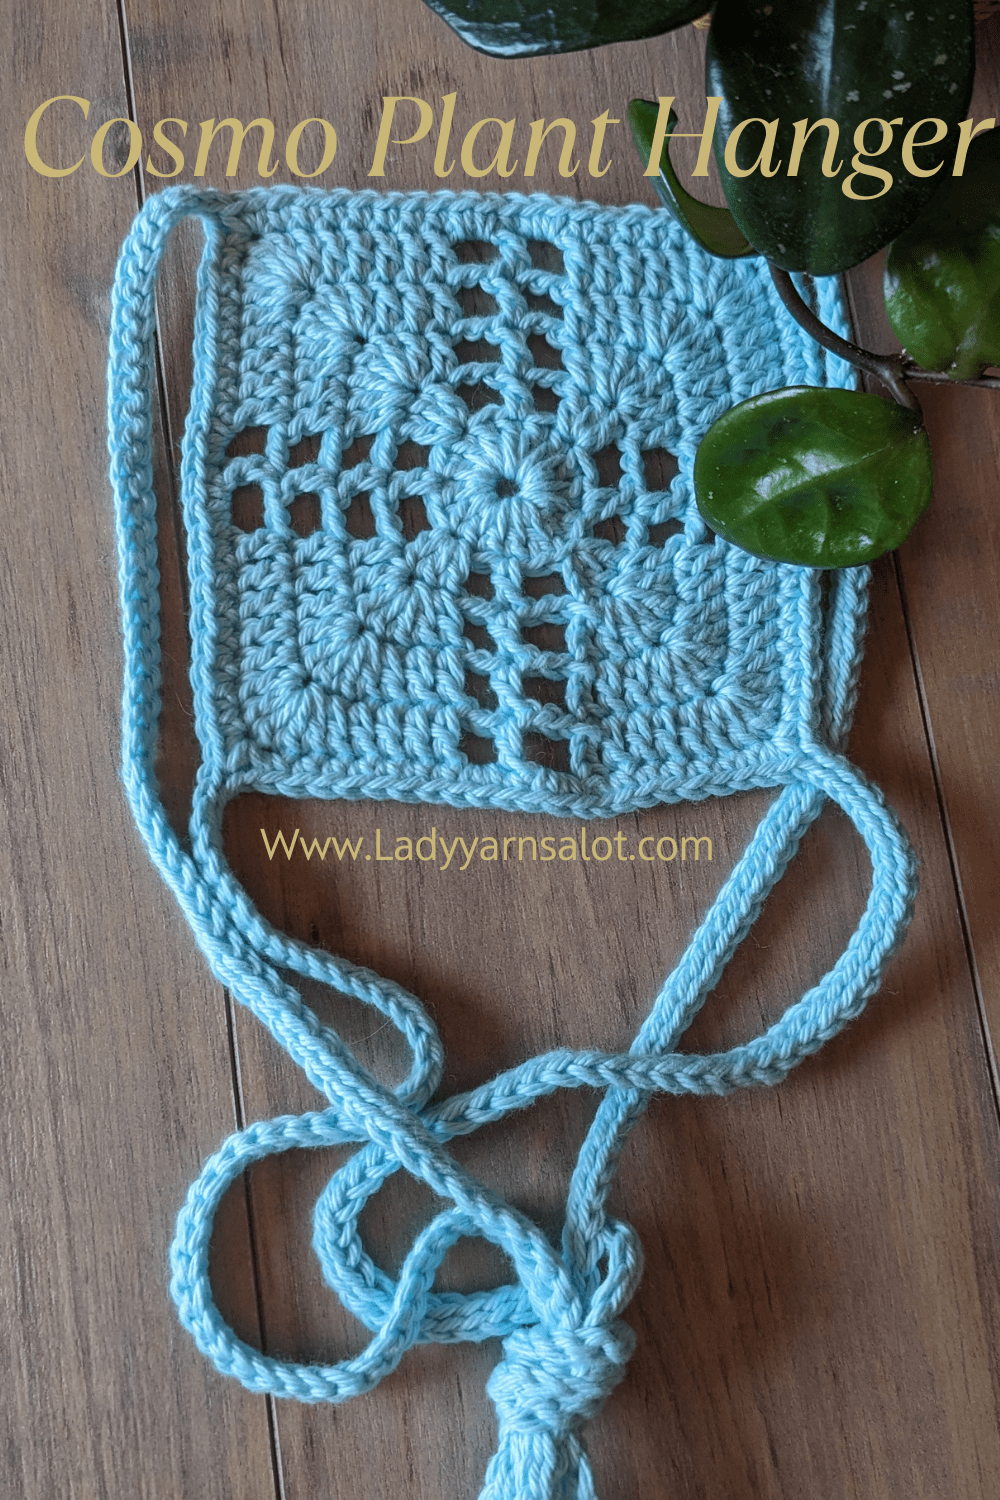
Finished Measurements
5 1/2 “ X 5 1/2 “ not including straps. The straps are 15 “ long before tying them together. If you do use a larger hook or yarn weight, your finished measurements will be larger.
Please show your support by pinning! Thank you!
Instructions
- Rnd 1: Ch 6, join with sl st to form a ring.
- Rnd 2: Ch 3 (counts as 1 dc) 15 dc into ring, join with sl st into top of ch 3. (16 Dcs)
- Rnd 3: Ch 3 (counts as 1 dc) 2 dc in same st, ch 2, skip 1 dc, 1 dc in next dc, ch 2, skip 1 dc, * 3 dc in next dc, ch 2, skip 1 dc, 1 dc in next dc, ch 2, skip 1 dc, rep from * twice. Join with sl st in top of ch 3. (16 Dc, 8-ch 2 spaces)
- Rnd 4: Ch 3 (counts as 1 dc), 5 dc in next dc, * 1 dc in next dc, ch 2, 1 dc in next dc, ch 2, 1dc in next dc, 5 dc in next dc, rep from * twice, 1 dc in next dc, 2 ch, 1dc in next dc, ch 2, Join with sl st in top of ch 3. (32 Dc, 8-ch 2 spaces)
- Rnd 5: Ch 3 (counts as 1 dc), 1 dc in next 2 dc, 5 dc in next dc,* 1 dc in next 3 dc, ch 2, 1 dc in next dc, ch 2, 1 dc in next 3 dc, 5 dc in next dc, rep from * twice, 1 dc in next 3 dc, ch 2, 1 dc in next dc, ch 2, Join with sl st in top of ch 3. (48 Dc, 8-ch 2 spaces)
- Rnd 6: Ch 3 (counts as 1 dc), 1 dc in next 4 dc, 5 dc in next dc,* 1 dc in next 5 dc, ch2, 1 dc in next dc, ch2, 1 dc in next 5 dc, 5 dc in next dc, rep from * twice, 1 dc in next 5 dc, ch 2, 1 dc in next dc, ch 2, Join with sl st in top of ch 3. (64 Dc, 8-ch 2 spaces)
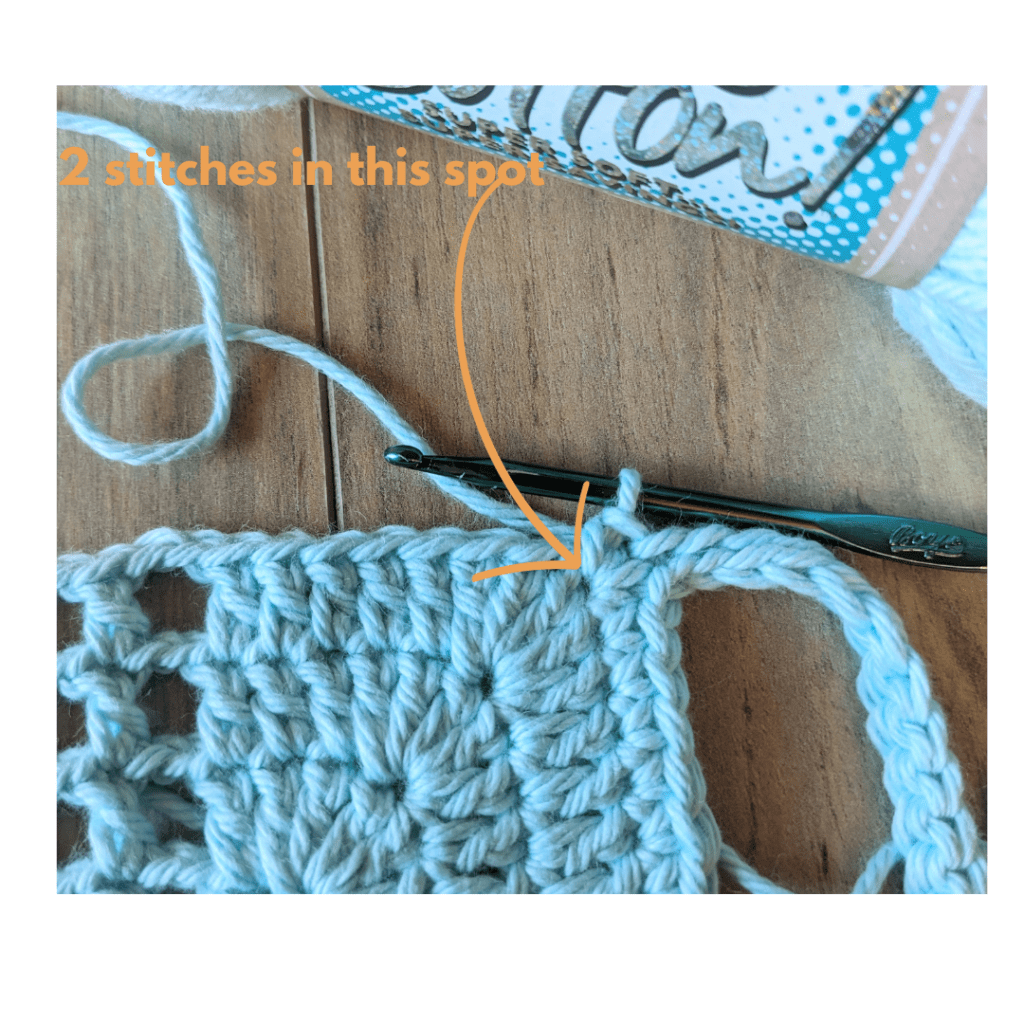
- Rnd 7: Ch 1, 1 sc in next 7 dc, * ch 70, skip 1 ch st then work 1 sl st in the back ridge of each ch st, 1 sc in next 8 dc (see photo 1), 2 sc in ch 2 sp, 1 sc in next dc, 2 sc in ch 2 sp, 1 sc in next 8 dc, rep from * twice, ch 70, skip 1 ch st then work 1 sl st in the back ridge of each ch st, 1 sc in next 8 dc, 2 sc in ch 2 sp, 1 sc in next dc, 2 sc in ch 2 sp, Join with sl st in first sc. (83 sc) Fasten off. Weave in ends.
Now line up the long straps and tie them together using an overhand knot! You are done! Just hang on a hook or rod ! \
This hanger can be modified with longer straps, just increase those chains in round 7. You could shorten them if you don’t have much space by decreasing the chains in round 7.

Leave a comment