
This brief tutorial will teach you how to crochet the Seed Stitch, also referred to as the Lemon Peel Stitch. This stitch is a breeze to learn, using simple crochet stitches.
Grab a crochet hook and some yarn, then follow these steps to master the amazing texture of the Seed or Lemon Peel Stitch.
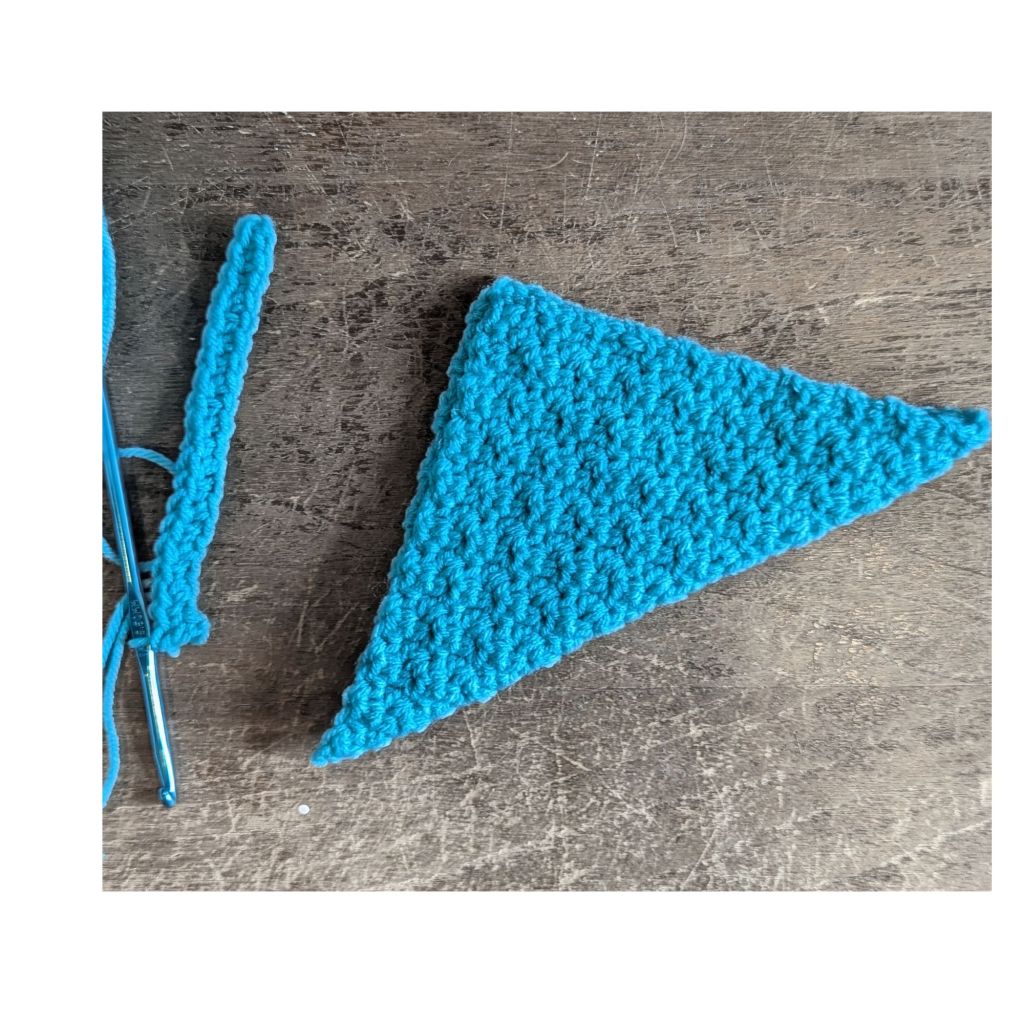
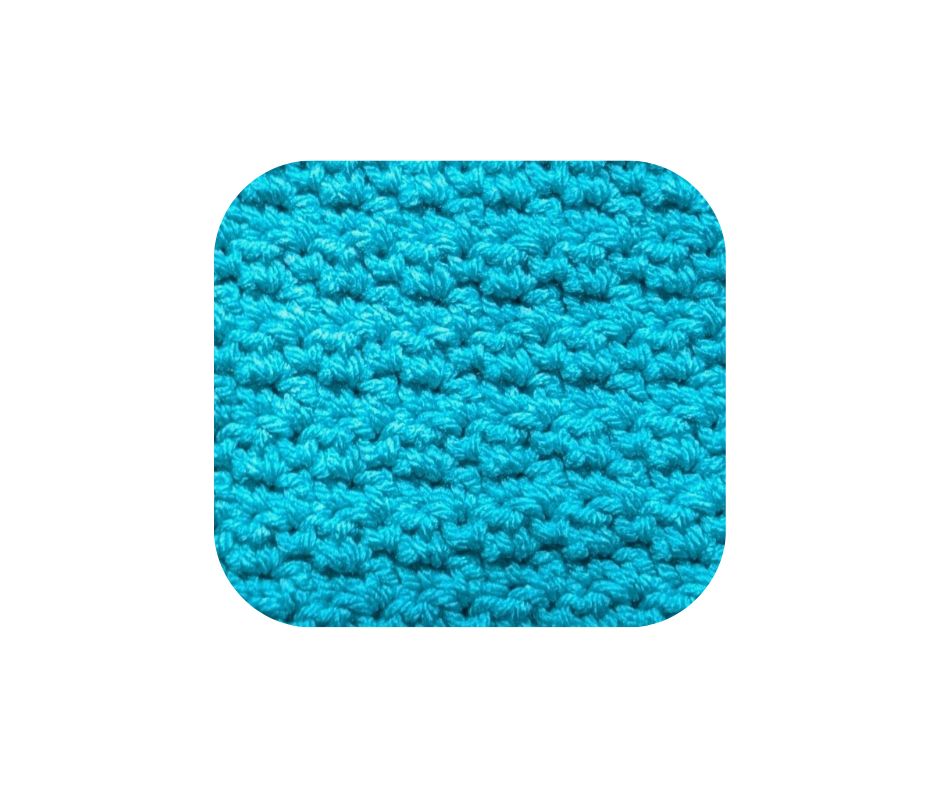
The Seed or Lemon Peel Stitch, with its pebbled texture, adds charm and interest to any crochet project. Perfect for all sorts of projects, excelling at spa sets, handbags, scarves, and more.
Abbreviations
ch = chain
sc = single crochet
dc = double crochet
st(s) = stitch(s)
Chain an odd number of stitches. I chained 21.
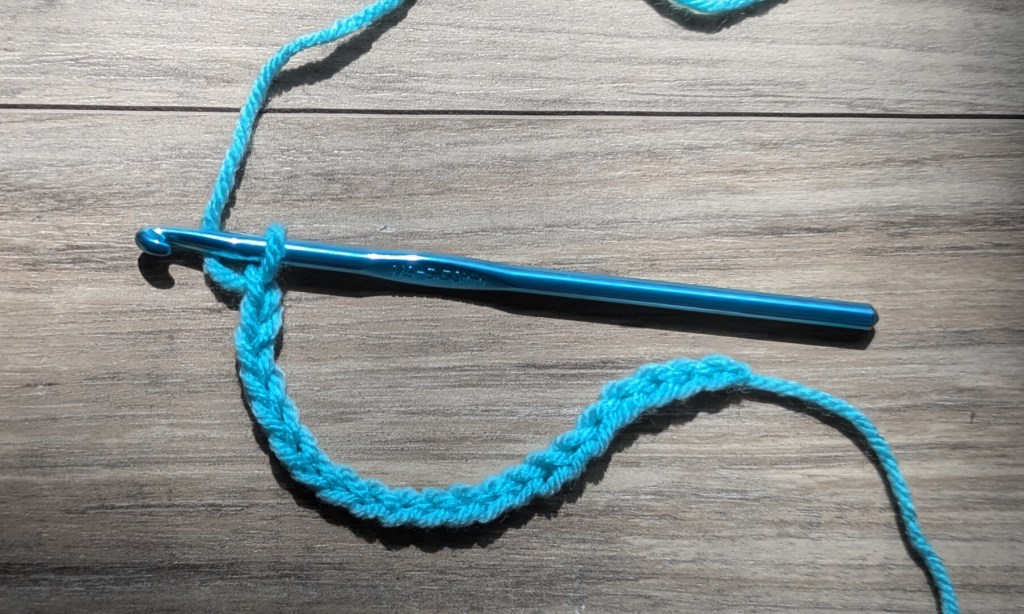
Row 1:
In the second chain from the hook, work a single crochet (sc). In the next chain, work a double crochet (dc). Keep alternating single and double crochets across the row, ending with a double crochet.
Chain 1. Turn your work. 20 sts.
I almost always work in the back bump of chain stitches. It isn’t necessary, but doing so gives a nicer finish and is easier to work into if you are going to add a border.
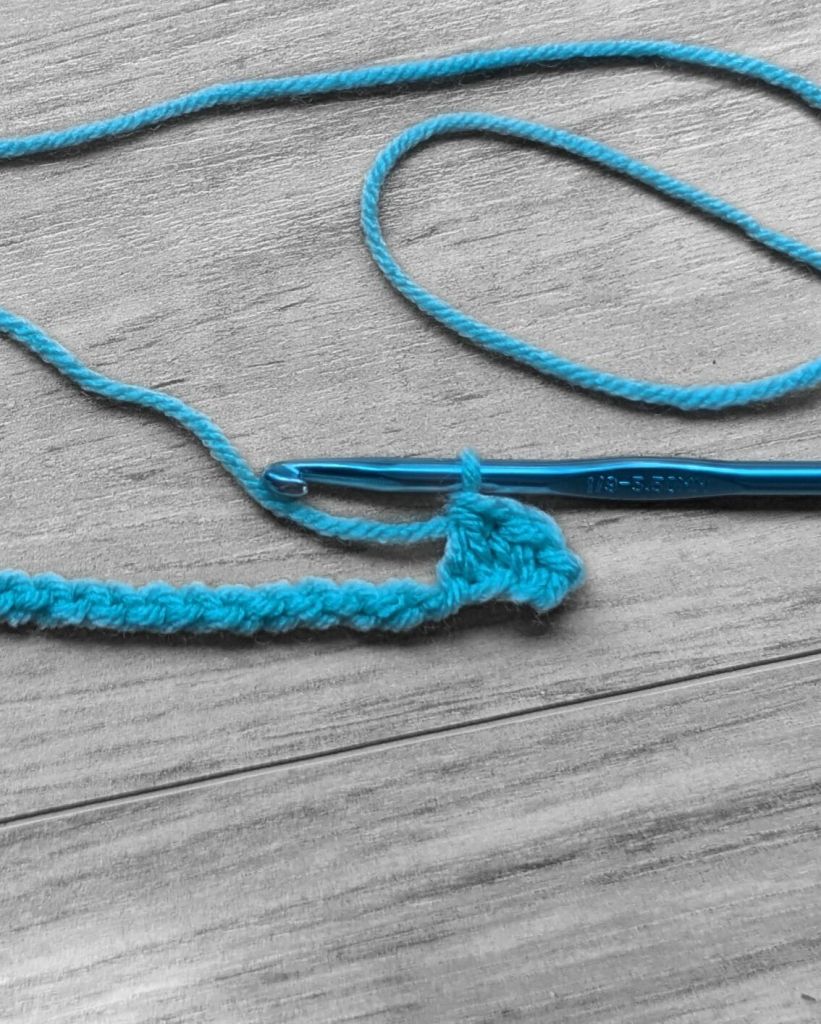
Row 2:
Start with a single crochet in the first stitch (a dc from the previous row). Follow with a double crochet in the next stitch (a sc from the previous row). Keep alternating single and double crochets across the row. Chain 1. Turn your work. 20 sts.
Repeat Row 2:
Stick with this pattern, repeating Row 2 throughout your project. The alternating stitches create a charming, textured fabric.
Remember:
1. Double crochet into the single crochets and single crochet into the double crochets of the previous row.
2. Always end a row with a double crochet.
Thanks for visiting! Please pin to show your support!


Leave a comment