
To avoid confusion– This is not the same as an invisible seam or an invisible slip stitch.
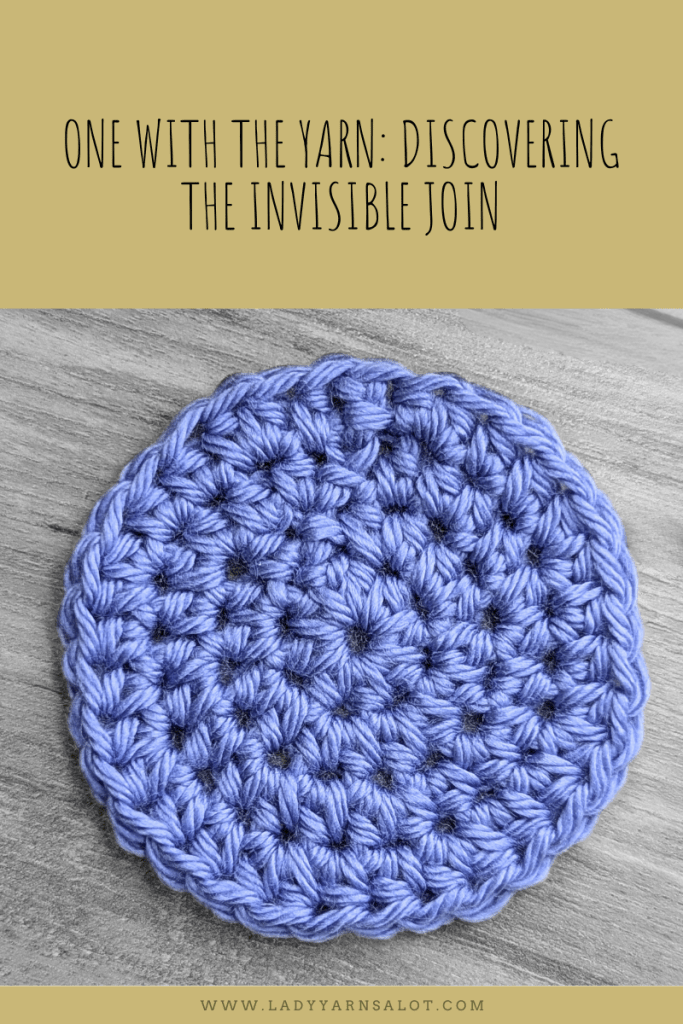
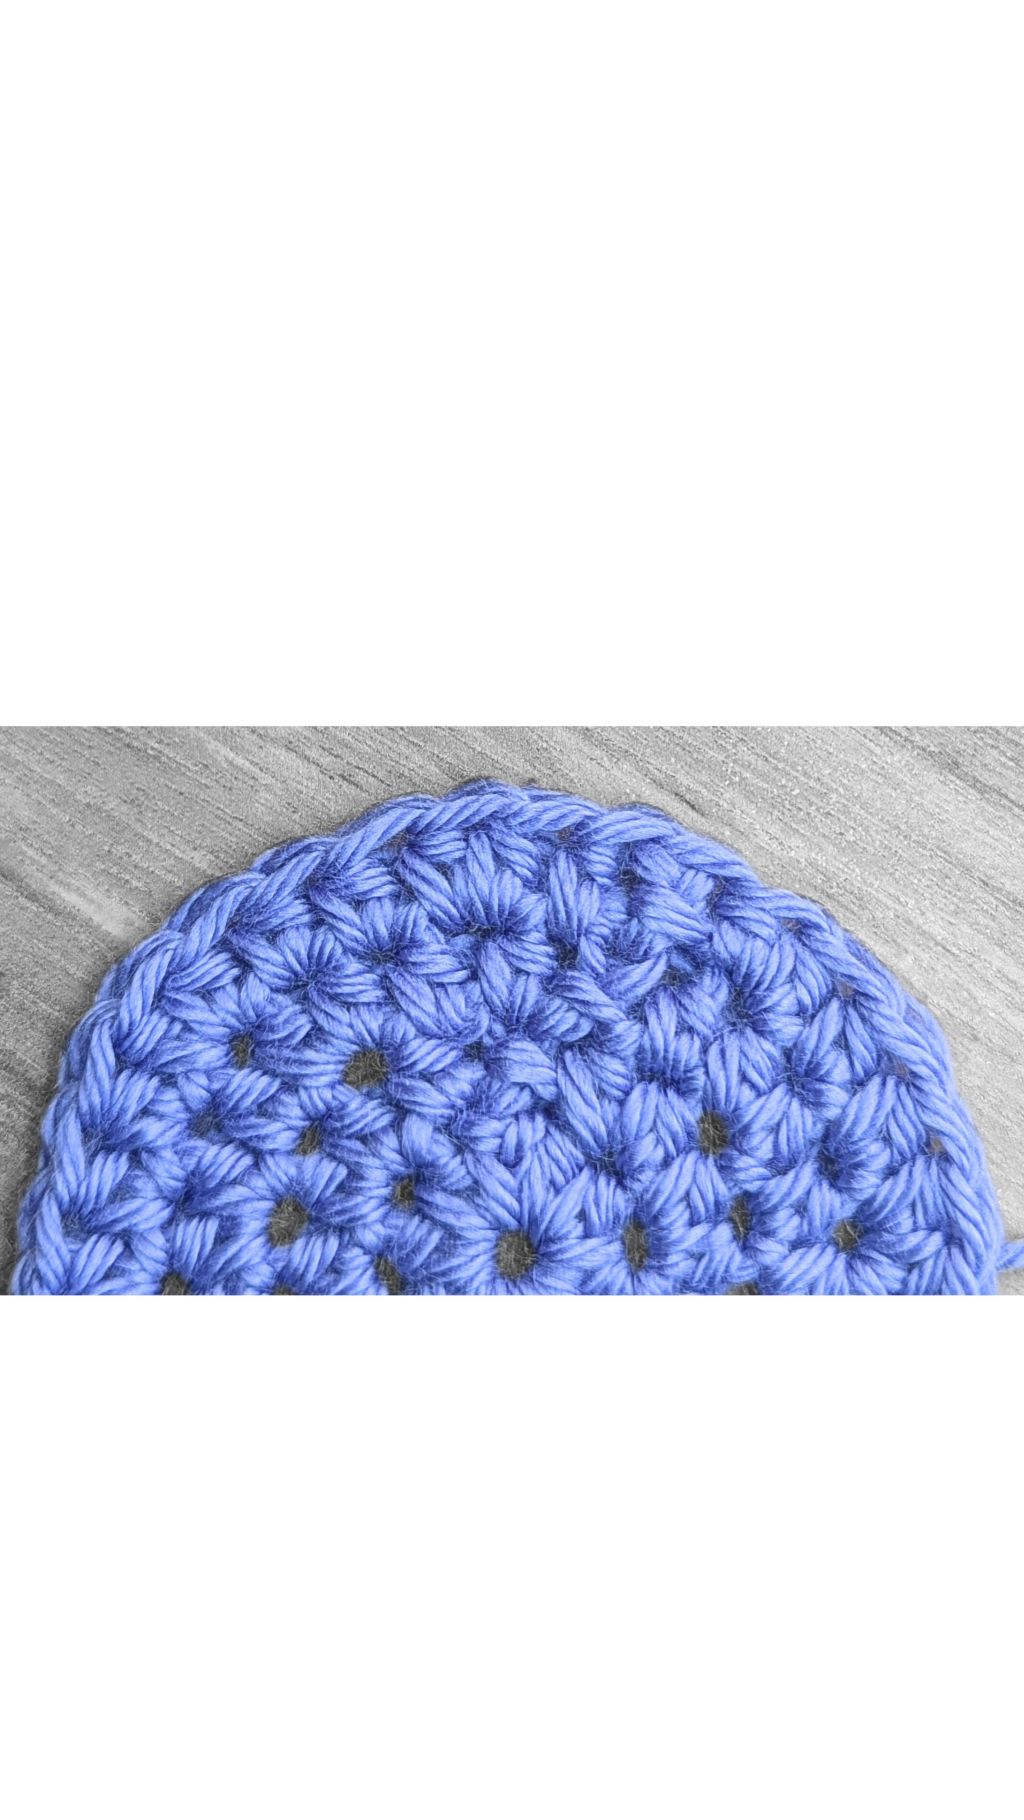
I’m totally in love with the invisible join for finishing my crochet rounds. You know that unsightly bumpy seam at the end of a crochet round? It’s like it’s shouting, “Hey, look where my round ends!” That’s why today, we’re diving into how to crochet invisible joins! It brings such a clean, polished vibe to my work. No more slip stitch bumps interrupting that smooth circle of perfect V’s … just a simple, beautiful flow from stitch to stitch.
Is it worth the extra time on every round?
When those edges are on full display—like on granny squares, mandalas, hats, or blankets where the sides are visible—absolutely!
However, if the round will be concealed within the project, a regular slip stitch join works just fine. Trust your instincts about what your piece requires!
A quick note on standing stitches:
Starting your round with a standing stitch may leave a floppy/loose section on the back of your work when using an invisible join. For a cleaner finish, skip the standing stitch! Go with the classic starting chains (for example, ch 3 for a double crochet) to keep the back flat and tidy. The starting chain and invisible join create the best invisible join!
Don’t like the ugly beginning chains?
Don’t worry -The invisible join turns that beginning chain into a perfect little stitch, blending beautifully into the round!
How the invisible join works:
The invisible join creates a false stitch that mimics the top of a regular stitch. This replaces the usual slip stitch join—eliminating the visible bump.
You don’t need any fancy tools, just a yarn needle and a pair of scissors.
Invisible Join Tutorial
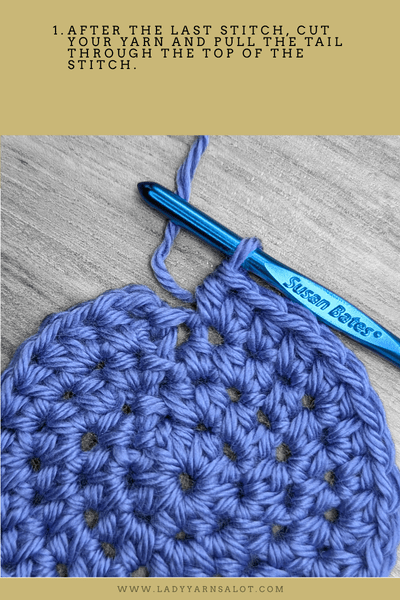
1. Once you’ve finished the last stitch of the round, cut your yarn, leaving a 6-8 inch tail. Pull your hook up and draw the working loop all the way through that last stitch.
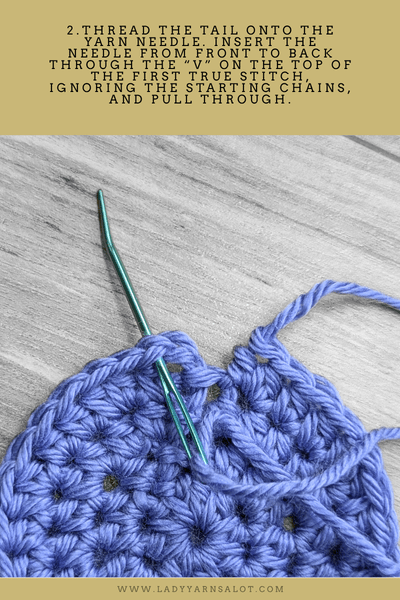
2. Thread the tail onto the yarn needle. Insert the needle from front to back through the “V” on the top of the first true stitch, ignoring the starting chains, and pull through.
3. Insert the needle in the top of the last stitch, going under the back loop and the horizontal loop behind it. Leave the front loop unworked, then pull through.

Pinch the top of your new stitch to hold it in place. Then pull the tail until the join is the same size as the tops of your regular stitches. Weave in the end securely on the wrong side.
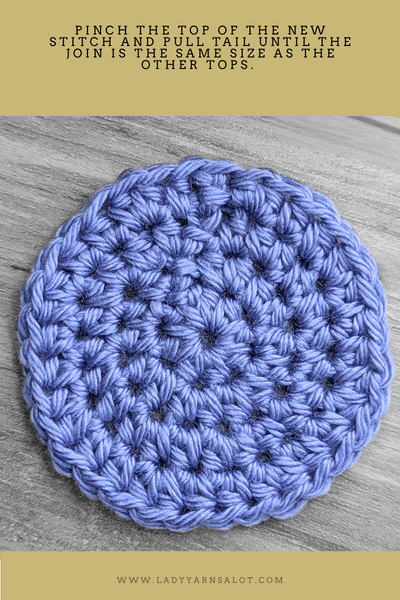
See how the invisible join blends right in? It’s a thing of Beauty!
These photos and tutorials are the property of Lady Yarns Alot. The tutorial is for your personal use only. Please do not copy/paste, distribute, or alter and claim as your own.


Leave a comment