
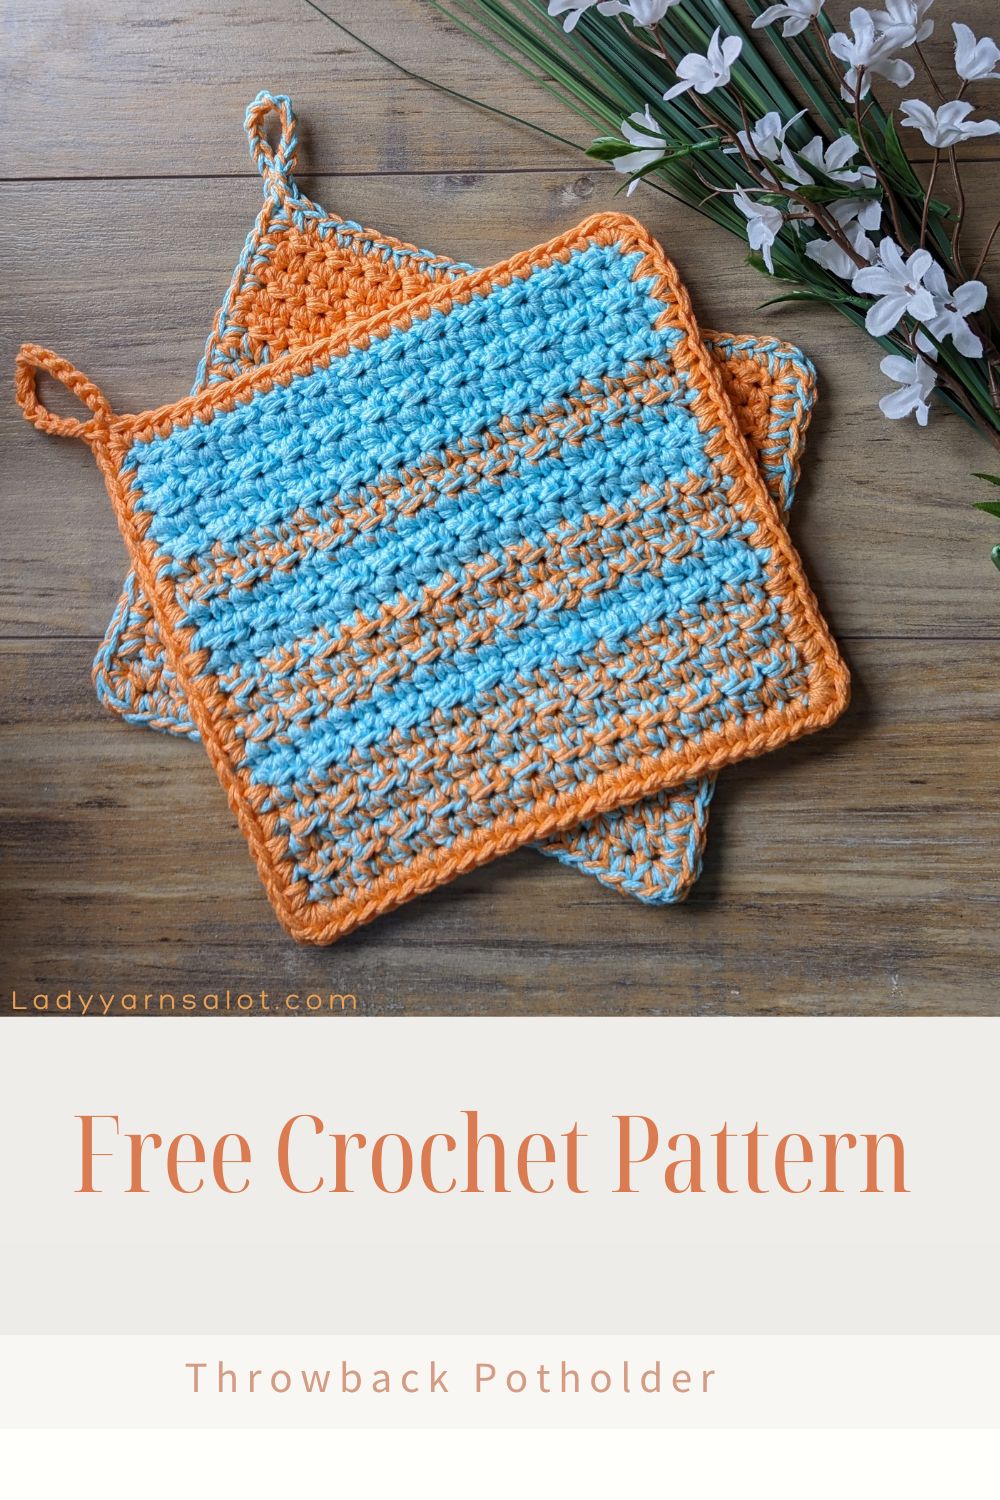

This potholder with its retro colors evokes a bygone era, with a nostalgic mix of pretty aqua and orange for the vintage hippie vibe. By changing yarn colors, you can create a whole new feel. Experiment with various color combinations to achieve a modern or rustic appearance.
Crocheting with Multiple Strands of Yarn
Crocheting with more than one strand of yarn can add a unique touch to your projects. Whether you’re an experienced crafter or new to working with multiple strands, this technique is definitely worth trying. Creating potholders while holding two strands of cotton yarn together can produce a beautiful color effect.
Choosing the Right Yarn for Your Crochet Projects
When it comes to crochet projects located near heat sources, such as potholders, the choice of yarn is crucial. Cotton yarn is an excellent option due to its heat resistance, non-melting properties, and ease of machine washing.
Please show your support by pinning! Thank you!
To skip the ads and get a printable PDF of this pattern, you have the option to buy it at an affordable price from my Etsy and Ravelry shops.
Let’s make this project!
Supplies Needed
- Approx. 165 yds of size 4 medium weight cotton yarn. I used Lion Brand 24/7 in the colors aqua and creamsicle. Using different color combinations create different vibes. There are no rules for the color pairings, so feel free to be creative and try different combinations.
- 5 mm hook or size needed to obtain gauge
- Scissors, yarn needle, tape measure, stitch markers
Terms Used and Abbreviations
- Back Loop Only – BLO
- Chain – ch
- Double Crochet – dc
- Front Loop Only – FLO
- Half double crochet – hdc
- Repeat – rep
- Right Side – RS
- Single Crochet – sc
- Skip – sk
- Slip stitch – sl st
- Space(es) – sp(s)
- Stitch(es) – st(s)
- Wrong Side – WS
- * – Repeat directions given from *
- [ ] – Work stitches within [ ] as many times as directed
- ( ) – Work stitches within ( ) in the same stitch or space
Pattern Notes
- Two strands of yarn are held together throughout the entire pattern.
- I used two colors for each potholder. Color A will be aqua throughout the pattern, while color B will be creamsicle.
- To change color, stop crocheting before you pull through the last two/three loops on the crochet hook. Drop the old yarn color and put the new color on the hook, use the new color to pull through the last two/three loops on the hook. Color change made.
- The beginning chain of a row does not count as a stitch.
- While not essential, I prefer using a knotless chain. After completing a couple of rows, untie the knot in the beginning slip stitch of the chain. This way, when you work on the border there will be no lumpy knot to crochet around.
Gauge
13.5 stitches in pattern X 13 rows = 4 inches
Finished Measurements
Laying flat the finished potholder measures 8 X 7 inch not counting the hanging loop.
Construction Process
This project involves creating a flat panel and then adding a trim around the edges, along with a loop for hanging. The repetitive pattern simplifies the project, making it easy to remember.
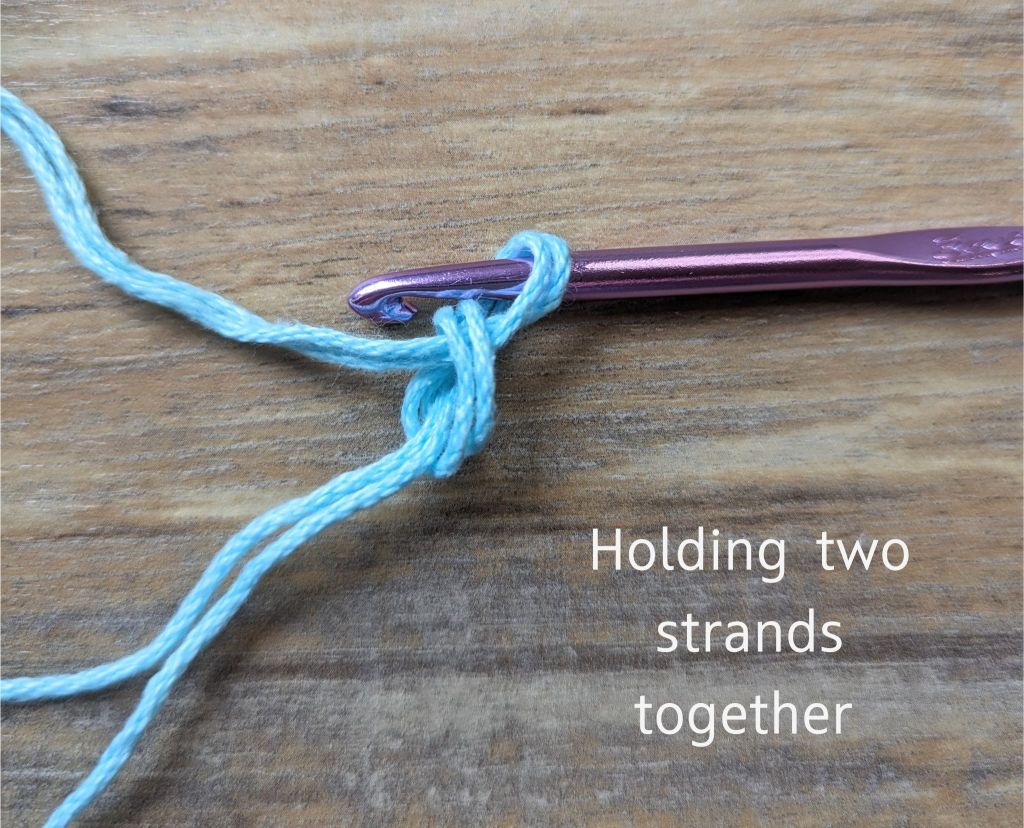
Photo 1
Row 1
Holding two strands of color A together (Photo 1)- Chain 26, sc in the BLO of the 2nd chain from the hook, * hdc in the BLO of the next st, sc in the BLO of the next st* repeat across, ending stitch should be a sc. Ch 1. Turn. ( 13 sc, 12 hdc)
Row 2
Hdc in first st, * sc in next st, hdc in the next st,* repeat across, ending stitch should be a hdc. Ch 1. Turn. ( 13 hdc, 12 sc)
Row 3
Sc in first st, * hdc in the next st, sc in the next st* repeat across, ending stitch shoud be a sc. Ch 1. Turn. ( 13 sc, 12 hdc)
Row 4
Hdc in first st, * sc in next st, hdc in the next st,* repeat across, ending stitch should be a hdc. Ch 1. Turn. ( 13 hdc, 12 sc)
Row 5
Sc in first st, * hdc in the next st, sc in the next st* repeat across, ending stitch should be a sc. Change color in that last sc by holding one strand of color A and B together to finish that last sc. (Photos 2 & 3) Ch 1. Turn. ( 13 sc, 12 hdc)

Photo 2

Photo 3
Row 6
Hdc in first st, * sc in next st, hdc in the next st,* repeat across, ending stitch should be a hdc. Ch 1. Turn. ( 13 hdc, 12 sc)
Row 7
Sc in first st, * hdc in the next st, sc in the next st* repeat across, ending stitch should be a sc. Change color in that last sc by holding two strands of color A together to finish that last sc. Ch 1. Turn. ( 13 sc, 12 hdc)
Row 8
Hdc in first st, * sc in next st, hdc in the next st,* repeat across, ending stitch should be a hdc. Ch 1. Turn. ( 13 hdc, 12 sc)
Row 9
Sc in first st, * hdc in the next st, sc in the next st* repeat across, ending stitch should be a sc. Ch 1. Turn. ( 13 sc, 12 hdc)
Row 10
Hdc in first st, * sc in next st, hdc in the next st,* repeat across, ending stitch should be a hdc. Change color in that last hdc by holding one strand of color A and B together to finish that last sc. Ch 1. Turn. ( 13 hdc, 12 sc)
Row 11
Sc in first st, * hdc in the next st, sc in the next st* repeat across, ending stitch should be a sc. Ch 1. Turn. ( 13 sc, 12 hdc)
Row 12
Hdc in first st, * sc in next st, hdc in the next st,* repeat across, ending stitch should be a hdc. Ch 1. Turn. ( 13 hdc, 12 sc)
Row 13
Sc in first st, * hdc in the next st, sc in the next st* repeat across, ending stitch should be a sc. Change color in that last sc by holding two strands of color A together to finish the last sc. Ch 1. Turn. ( 13 sc, 12 hdc)
Row 14 Hdc in first st, * sc in next st, hdc in the next st,* repeat across, ending stitch should be a hdc. Ch 1. Turn. ( 13 hdc, 12 sc)
Row 15 Sc in first st, * hdc in the next st, sc in the next st* repeat across, ending stitch should be a sc. Change color in that last sc by holding one strand of color A and B together to finish that last sc. Ch 1. Turn. ( 13 sc, 12 hdc)
Row 16 Hdc in first st, * sc in next st, hdc in the next st,* repeat across, ending stitch should be a hdc. Ch 1. Turn. ( 13 hdc, 12 sc)
Row 17 Sc in first st, * hdc in the next st, sc in the next st* repeat across, ending stitch should be a sc. ( 13 sc, 12 hdc)
Row 18 Hdc in first st, * sc in next st, hdc in the next st,* repeat across, ending stitch should be a hdc. Ch 1. Turn. ( 13 hdc, 12 sc)
Row 19 Sc in first st, * hdc in the next st, sc in the next st* repeat across, ending stitch should be a sc. ( 13 sc, 12 hdc)
Row 20 Hdc in first st, * sc in next st, hdc in the next st,* repeat across, ending stitch should be a hdc. Fasten off and weave in ends. ( 13 hdc, 12 sc)
Border round
Holding two strands of color B together attach to the last stitch. Complete 3 sc in that same stitch, Skipping the first row, 1 sc in next 19 rows, 3 sc in next st, sc in next 25 sts, ch 15, sl st to back loop of beginning ch ( see photo 4 ), 2 sc into corner st.(see photo 5) There will be 3 sc in the corner, as well as the loop for hanging (See photo 6) Skip first row, 1 sc in next 19 rows, 3 sc in next st, sk 1st st, 1 sc in each st to end. Join with sl st to top of beginning sc. Fasten off. Weave in all ends.

Photo 4

Photo 5

Photo 6
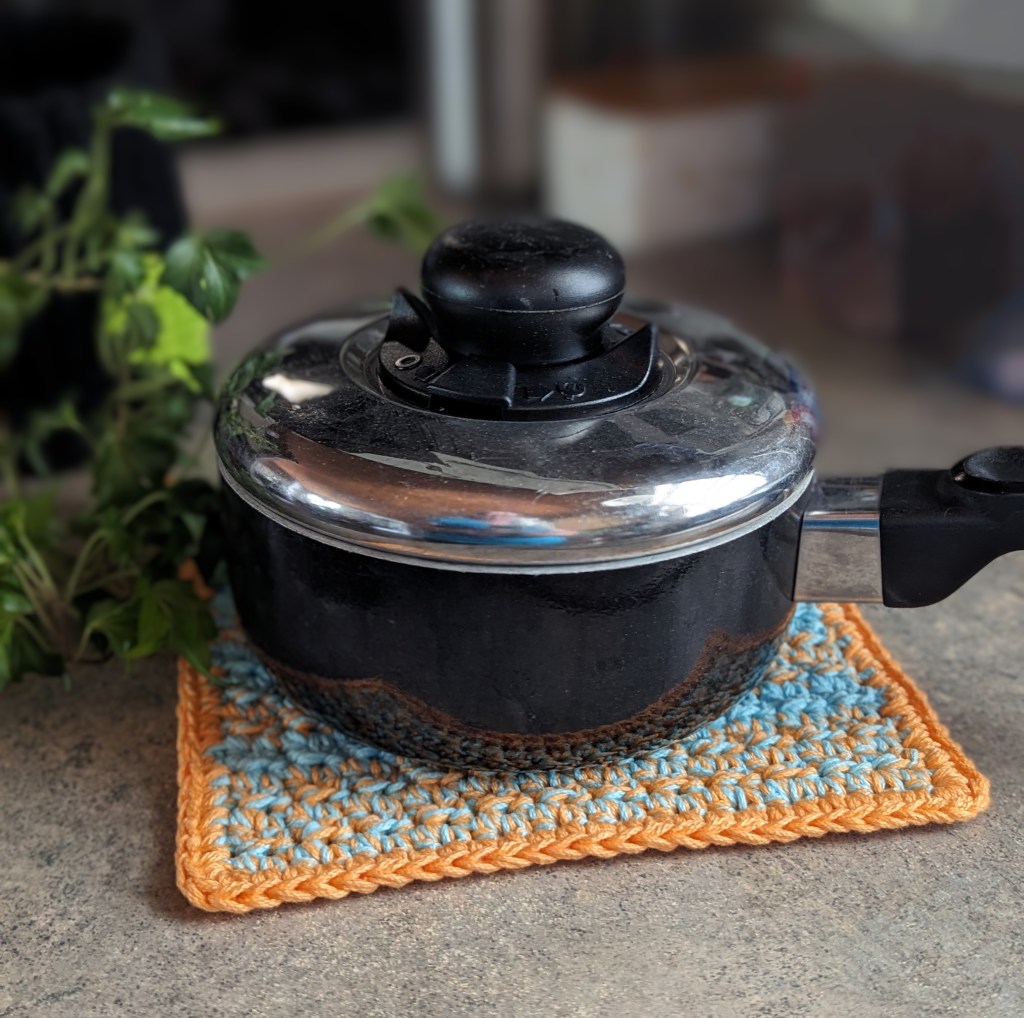
You can adjust the size of your potholders by using a larger or smaller hook. Consider omitting the hanging loop, Viola! You have a hot pad.
Thank you for checking out my Throwback Potholder! I hope you enjoyed making it as much as I enjoyed designing it!
I can be reached at Ladyyarnsalot@gmail.com if you have any questions.
The pattern and photographs in this document are property of Lady Yarns Alot. You do not have my permission to sell, share, copy, or duplicate this pattern. No unauthorized reproduction, in whole or part is allowed. Thank you so much for following these rules!


Leave a reply to Happy Hands Bowl Cozy – Lady Yarns Alot Cancel reply